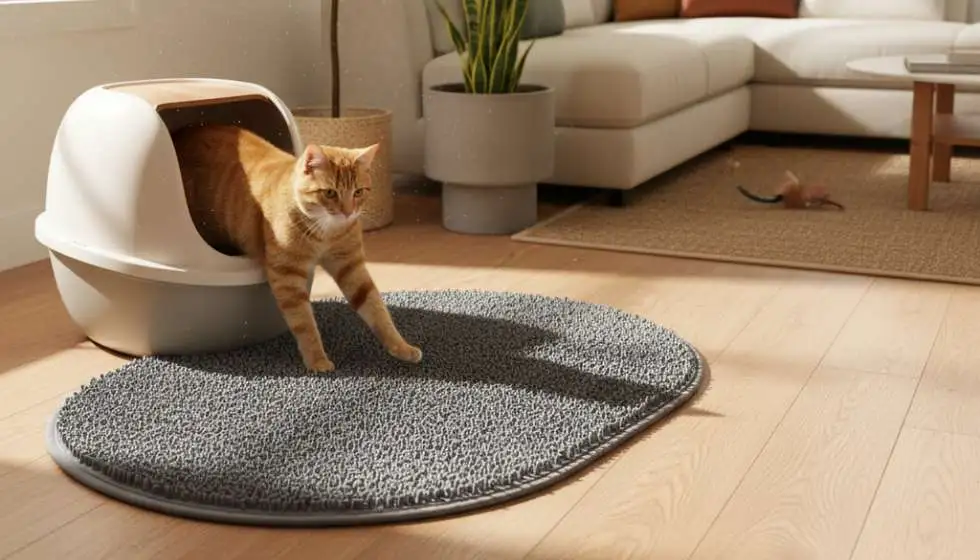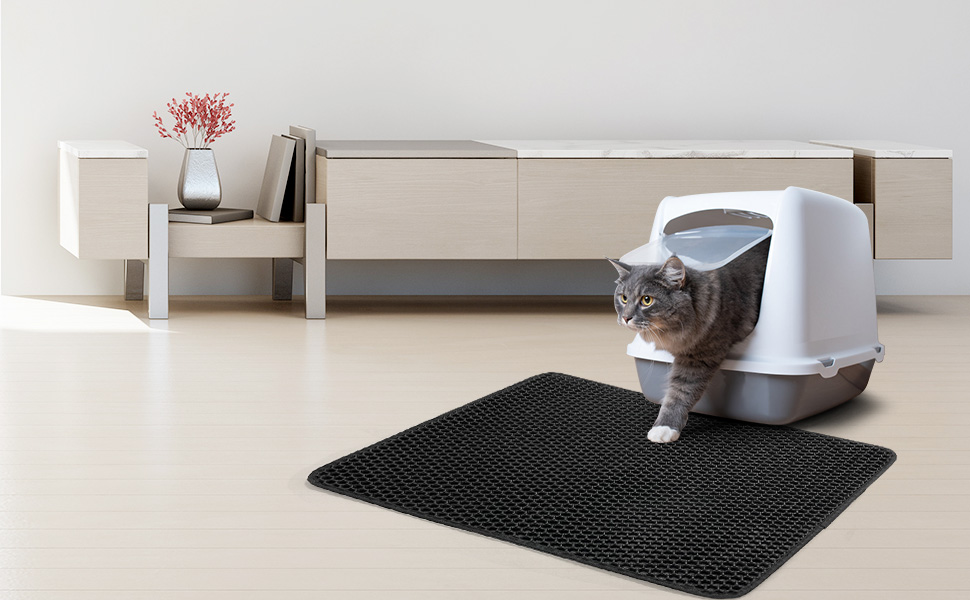
A cat litter mat is important to keeping your home clean and hygienic. It traps loose litter from your cat’s paws and prevents it from spreading across floors and carpets. However, because it collects litter, dust, moisture, and bacteria, a litter mat requires regular and proper cleaning to stay effective.
I explains in-depth how to clean a cat litter mat step by step, how often to clean it, and how to prevent odors, stains, and bacteria buildup—without harming your cat.
Why Cleaning Your Cat Litter Mat Is Important
Regular cleaning of a cat litter mat is require for several reasons. First, it helps control unpleasant odors caused by urine residue and trapped litter dust. Second, it keeps your home environment cleaner and more hygienic. Most importantly, a dirty litter mat can harbor bacteria, mold, and allergens, which may negatively affect your cat’s paws and overall health.
A clean mat also lasts longer and performs better, making routine cleaning a smart habit rather than a chore.
Step 1: Shake the Mat Outdoors
Begin by taking the litter mat outside and shaking it thoroughly. This removes loose litter, dust, and debris trapped on the surface. Shaking outdoors prevents litter from spreading back into your home.
For hygiene, wear gloves and shake the mat away from doors or windows. This simple step removes most loose particles in seconds.
Step 2: Vacuum the Mat Thoroughly
After shaking, vacuum both sides of the mat to remove fine litter particles lodged in grooves or fibers. Mats with deep ridges or honeycomb designs often trap litter deeply, so use a vacuum with a brush or crevice attachment for better results.
Vacuuming helps reduce dust buildup and prepares the mat for washing.
Step 3: Rinse the Mat with Water
Next, rinse the mat using a garden hose, showerhead, or bathtub. Always rinse both sides to flush out remaining debris. Use moderate water pressure, as high pressure can damage certain materials like foam or rubber-backed mats.
Warm water works best for loosening dirt without weakening the mat.
Step 4: Use Mild Soap for Deep Cleaning
For deeper cleaning, apply a small amount of mild, fragrance-free dish soap mixed with warm water. Gently scrub the mat using a soft brush or cloth, focusing on areas with visible stains or odor buildup.
Avoid harsh chemicals, bleach, or scented cleaners, as these can irritate your cat’s paws or respiratory system. Cat-safe cleaning products are always the best choice.
Step 5: Rinse Thoroughly to Remove Soap Residue
Rinse the mat again until all soap residue is completely removed. Any leftover soap can cause paw irritation or make the mat slippery. Continue rinsing until the water runs clear and no suds remain.
This step is especially important if your cat has sensitive skin.
Step 6: Dry the Mat Completely
Allow the mat to air dry completely before placing it back near the litter box. You can hang it outdoors or lay it flat in a well-ventilated area. Avoid using a dryer or direct heat, as high temperatures can warp or damage the mat.
A fully dry mat prevents mold, mildew, and bacteria growth.
Step 7: Use Baking Soda for Odor Control (Optional)
Once the mat is dry, sprinkle a light layer of baking soda over the surface. Let it sit for 10–15 minutes to absorb lingering odors, then vacuum it off.
Baking soda is a safe and effective natural deodorizer that keeps the mat fresh between washes.
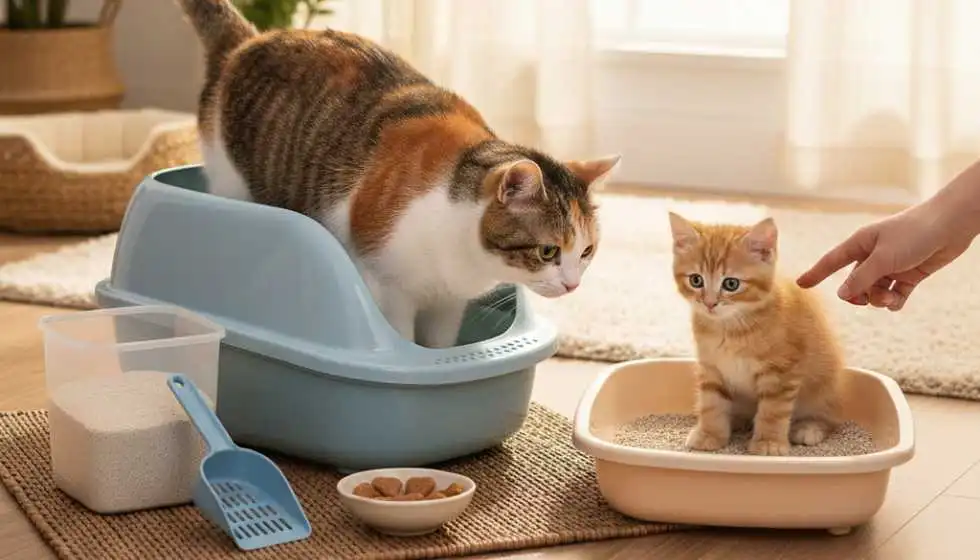
How Often Should You Clean a Cat Litter Mat?
Cleaning frequency depends on how many cats you have and the type of litter used. In most households, washing the mat once a week is sufficient. Homes with multiple cats or dusty litter types should clean mats two to three times per week.
Daily shaking or quick vacuuming helps reduce buildup and extends the time between deep cleanings.
Tips for Maintaining a Clean Cat Litter Mat
Regular maintenance makes cleaning easier. Shake or vacuum the mat daily to prevent litter accumulation. Placing the mat on a flat, non-slip surface keeps it stable and more effective. Using a larger mat also helps catch more litter before it reaches your floors.
Rotating between two mats allows one to dry fully while the other stays in use.
Choosing Safe Cleaning Products
Always choose cat-safe cleaning solutions. Avoid bleach, ammonia, and strong disinfectants, as these are toxic to cats. Mild dish soap, diluted white vinegar, or pet-safe cleaners work well for routine cleaning.
If using vinegar, rinse thoroughly to remove any lingering smell.
Best Types of Litter Mats for Easy Cleaning
Some litter mats are easier to clean than others. Silicone and PVC mats resist moisture and rinse clean quickly. Honeycomb and ridged mats trap litter effectively but require more frequent washing.
Selecting a durable, waterproof mat reduces odor retention and simplifies maintenance.
How to Handle Stains and Persistent Odors
For stubborn stains, use a mixture of warm water and diluted white vinegar. Gently scrub the affected area with a soft brush. Baking soda helps neutralize strong odors, while vinegar removes residue buildup.
Avoid soaking mats for long periods, as excessive moisture can weaken materials.
Common Mistakes to Avoid While Cleaning
Using too much soap can leave residue that irritates your cat’s paws. Placing a damp mat back near the litter box encourages bacteria and mold growth. Skipping regular cleaning allows odors and germs to build up quickly.
Proper drying and gentle cleaning protect both your mat and your cat.
Final Thoughts
Cleaning a cat litter mat doesn’t have to be difficult or time-consuming. With regular shaking, weekly washing, and safe cleaning products, you can keep your litter area fresh and hygienic. A clean mat means less mess, fewer odors, and a healthier environment for both you and your cat.
By following this updated guide, maintaining your cat litter mat becomes quick, effective, and stress-free.

Claudia Guthrie is a writer and animal enthusiast with experience working for a leading equine veterinary hospital and learning more about canine development and obedience. She has personal experience with dogs, cats, rabbits, gerbils, and horses, and a lifelong interest in researching and writing about the latest in animal care, training, and breed profiles.